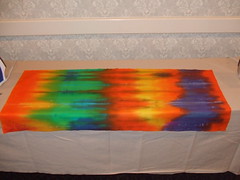
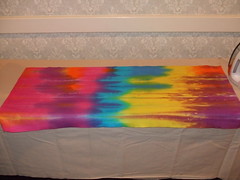
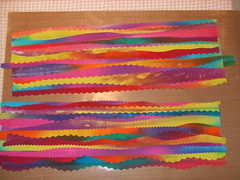
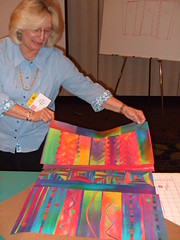
We had such a fun time in class with Melody last week. After a little confusion first thing in the morning about which day it was and what class we were taking, we got to dive into a stack of her absolutely yummy rainbow hand-dyed fabric. Good thing the class was small -- that was a little frenzied! Here are my picks, laid out in all their glory:
We started by fusing Wonder Under to each piece of fabric, covering it completely, then peeling off the release paper. According to Melody, this allows us to cut shapes freely, and the fabric won't fray because we're not picking at the edge of the paper.
Then we cut a long strip, and subcut into segments, keeping them carefully in order so there would be a progression of color in the chevron units. I'll show you my mom's chevrons, since I failed to photograph mine!
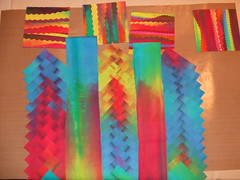
Next we made our own new fabric, by cutting strips of fabric two, then cutting them into skinnier pieces with fancy rotary blades and curvy shapes. We shared strips at this point, and fused them into new sections. You can see mom's finished results in the above picture, but here are a couple of process photos:
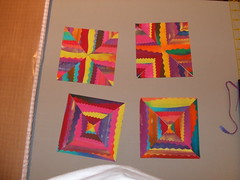
From there we cut squares into quarters and made these quarter square units:
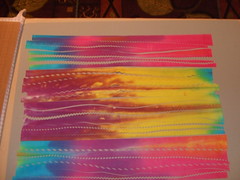
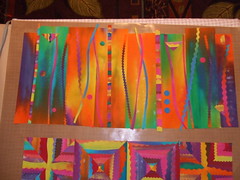
Cut more strips, and then the real fun begins! All the leftover odds and ends, as well as any other ideas, became fair game as we tackled the most free-form and artistic section. Here's mine:
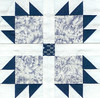
Then to decide how to put the pieces together... You've seen mine (although I just realized I posted it upside down the other day -- I'm going to try to fix that!). so I'll show you a couple of the ones made by others in class:
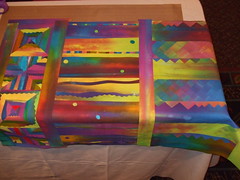
Aren't they all fantastic? I wish I had pics of some of the other quilts... hopefully Melody will post the ones she took so you can enjoy them, too! All in all, it was a fun and freeing class. There wasn't too much thinking about the process -- until the third panel, at least for me -- and we got to play with the lovely fabrics and enjoy learning something new.
PS -- click the photos for bigger sizes, or visit my Flickr album for a few more notes...


2 comments:
Hi Amy!
What a BEAUTIFUL quilt. I love it.
Thanks for the link to my blog : )
Looking foward to getting to know you through yours.
Thanks, Michelle! I'm excited about this little gem, too.
Post a Comment